
A common question organisations ask when upgrading their meeting rooms is simple:
How do you set up a wireless presentation system without creating more complexity?
Quick Answer:
Setting up a wireless presentation system is usually far simpler than many people expect. Modern plug-and-play solutions can be installed in just a few steps, allowing users to share content wirelessly without relying on adapters, complicated software, or extensive IT support.
The Solution:
The most effective approach is to choose a plug-and-play wireless presentation system that supports multiple devices, operating systems, and collaboration features. With the right solution, users can connect instantly, share content seamlessly, and support hybrid meetings without complicated setup processes.
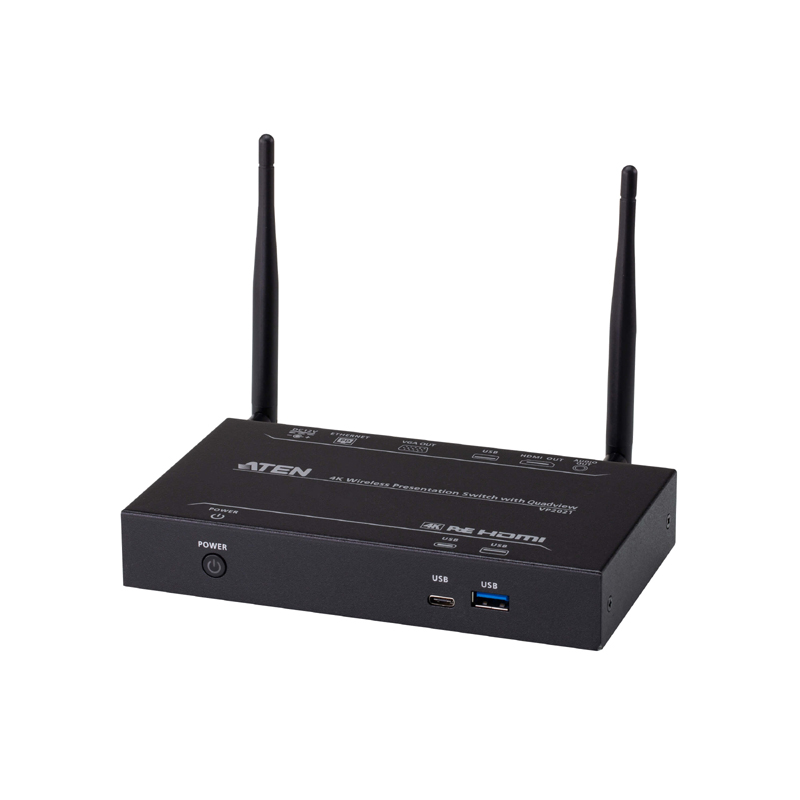
The following ATEN Kits are the perfect solution with the ability to purchase multiple dongles for other uses. Check out Fairline Distribution for more information.



Want to find out more?
Setting up a wireless presentation system doesn’t need to be complicated. In fact, when done correctly, it can significantly reduce technical issues and improve collaboration across your organisation.
This guide outlines a simple, practical approach to getting your system up and running effectively.
Step 1: Understand Your Requirements
Before choosing a solution, consider how your meeting spaces are used:
- How many users need to connect at once?
- Are meetings in-person, remote, or hybrid?
- What devices are typically used (Windows, macOS, Linux)?
Understanding these factors ensures you select a system that fits your environment rather than creating new limitations.
Step 2: Choose a Plug-and-Play Solution
The most effective systems are those that require minimal setup. Look for solutions that:
- Do not require driver installation
- Work across multiple operating systems
- Offer simple USB or USB-C connectivity
This reduces reliance on IT support and ensures users can connect quickly and confidently.
Step 3: Connect the Base Unit
Wireless presentation systems typically include a central receiver connected to the display. This unit manages all incoming connections.
Once connected to your screen via HDMI and powered on, the system is ready to receive input from user devices.
Step 4: Pair the Wireless Dongles
Users can connect via dedicated wireless dongles or compatible apps. With plug-and-play dongles, the process is straightforward:
- Insert the dongle into your laptop
- Press the button to begin sharing
This eliminates the need for complex configuration or network setup.
Step 5: Enable Multi-User Collaboration
Many systems support multiple simultaneous connections. Configure your system to allow features such as quad-view display, enabling up to four users to present at once.
This is particularly useful for collaborative sessions, comparisons, and team discussions.
Step 6: Integrate Video Conferencing
To support hybrid meetings, ensure your system allows USB camera and audio integration. This enables users to host or join video calls directly from their laptops using familiar platforms.
Step 7: Test and Optimise
Before full rollout, test the system in a real meeting scenario. Check:
- Connection stability
- Ease of use for different users
- Performance across devices
This helps identify any adjustments needed before wider implementation.
Key Takeaway
A well-implemented wireless presentation system should simplify—not complicate—your meeting spaces. By focusing on ease of use, compatibility, and reliability, you can create a setup that supports seamless collaboration from day one.